Your website has a built-in editor where you can write and publish blog posts yourself — no coding, no waiting on us. To keep it secure, you'll sign in with a free GitHub account. (GitHub is a trusted service used by millions of websites to safely store and back up content — nothing you write is ever lost.)
You'll need: an email address and ~5 minutes. Here's exactly what to do.
Step 1 — Create your free GitHub account
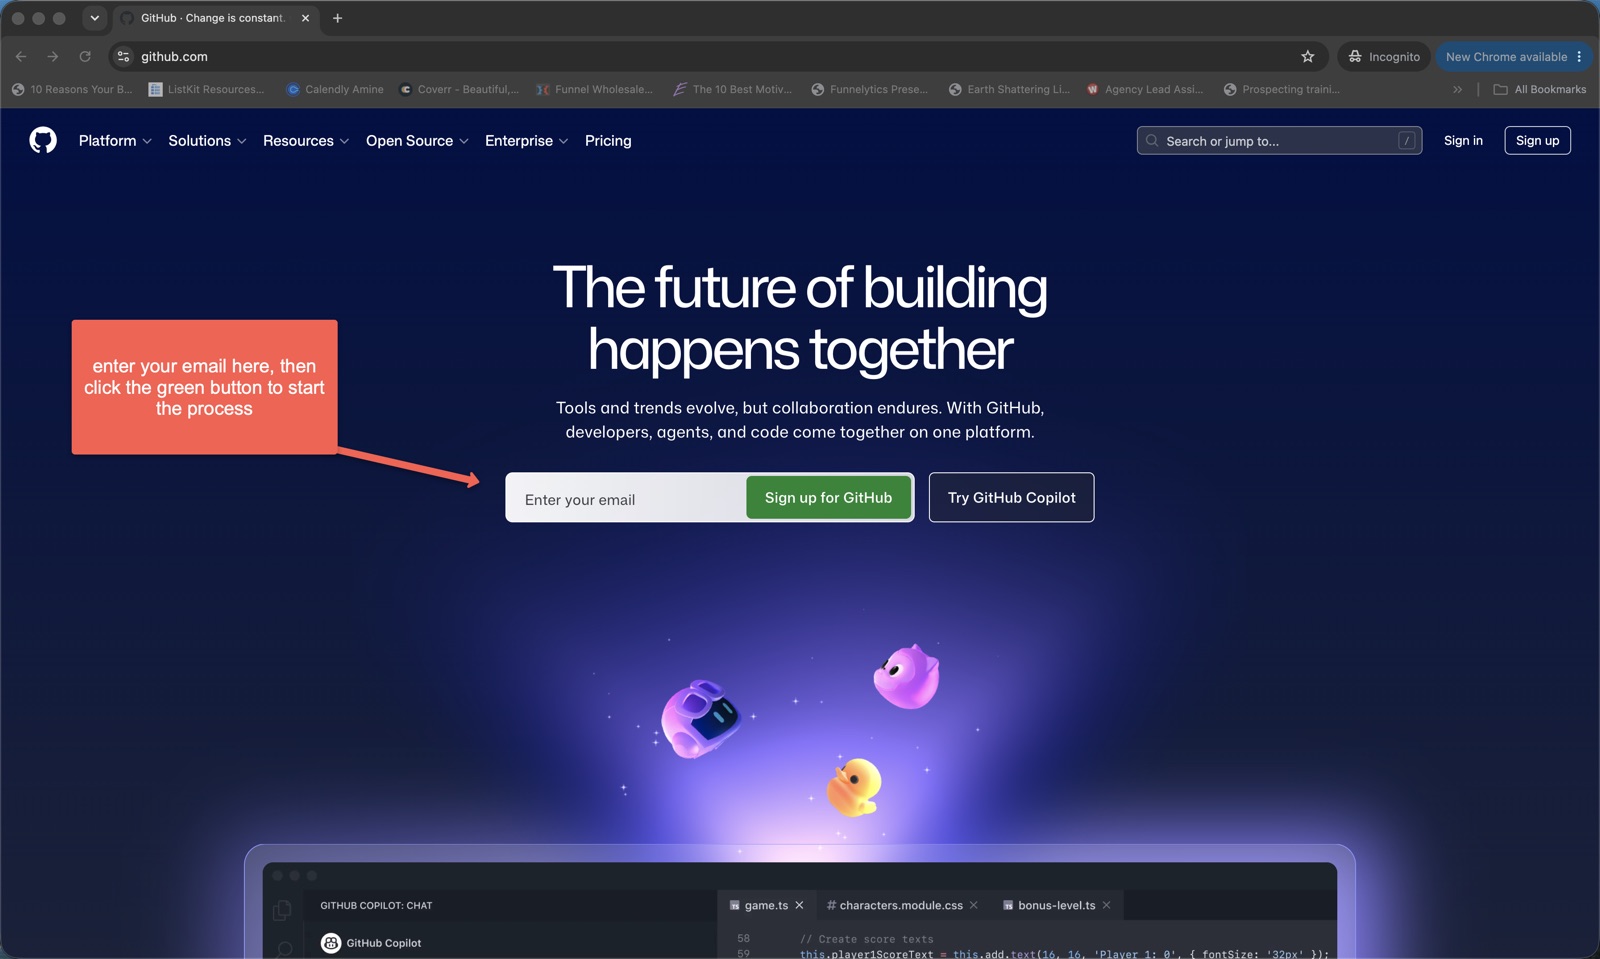
- Go to github.com and click Sign up.
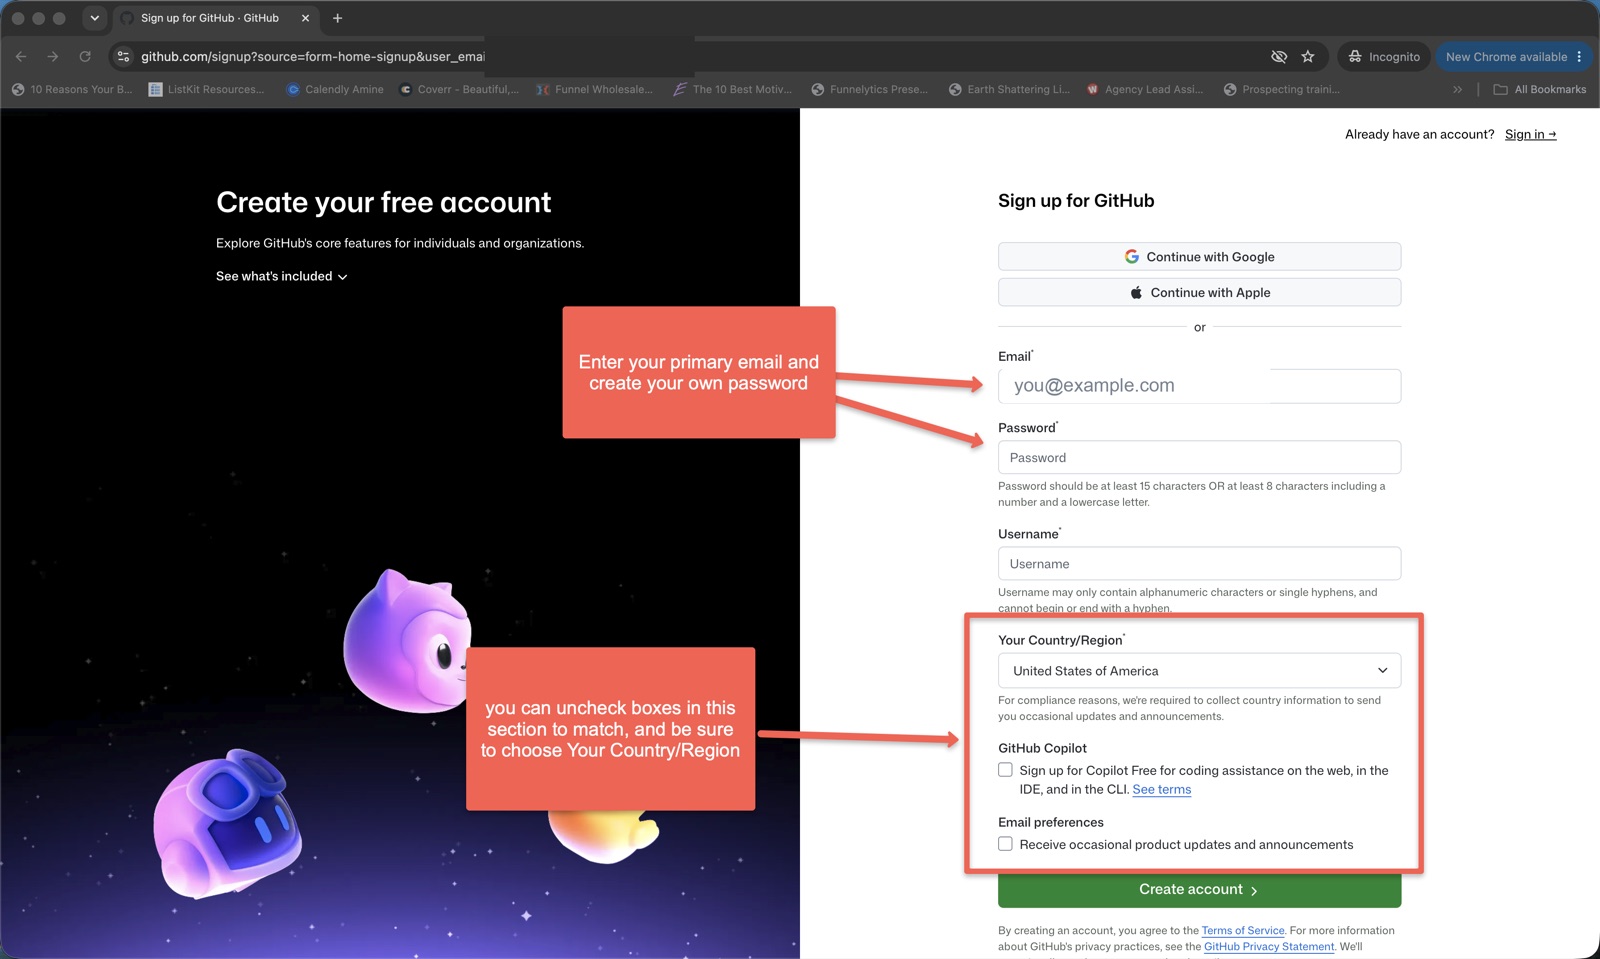
- Enter your email, create a password, and pick a username (anything works — your name or business is fine).
- GitHub emails you a verification code — type it in to confirm.
- If asked to choose a plan, pick Free. You can skip any "tell us about yourself" questions.
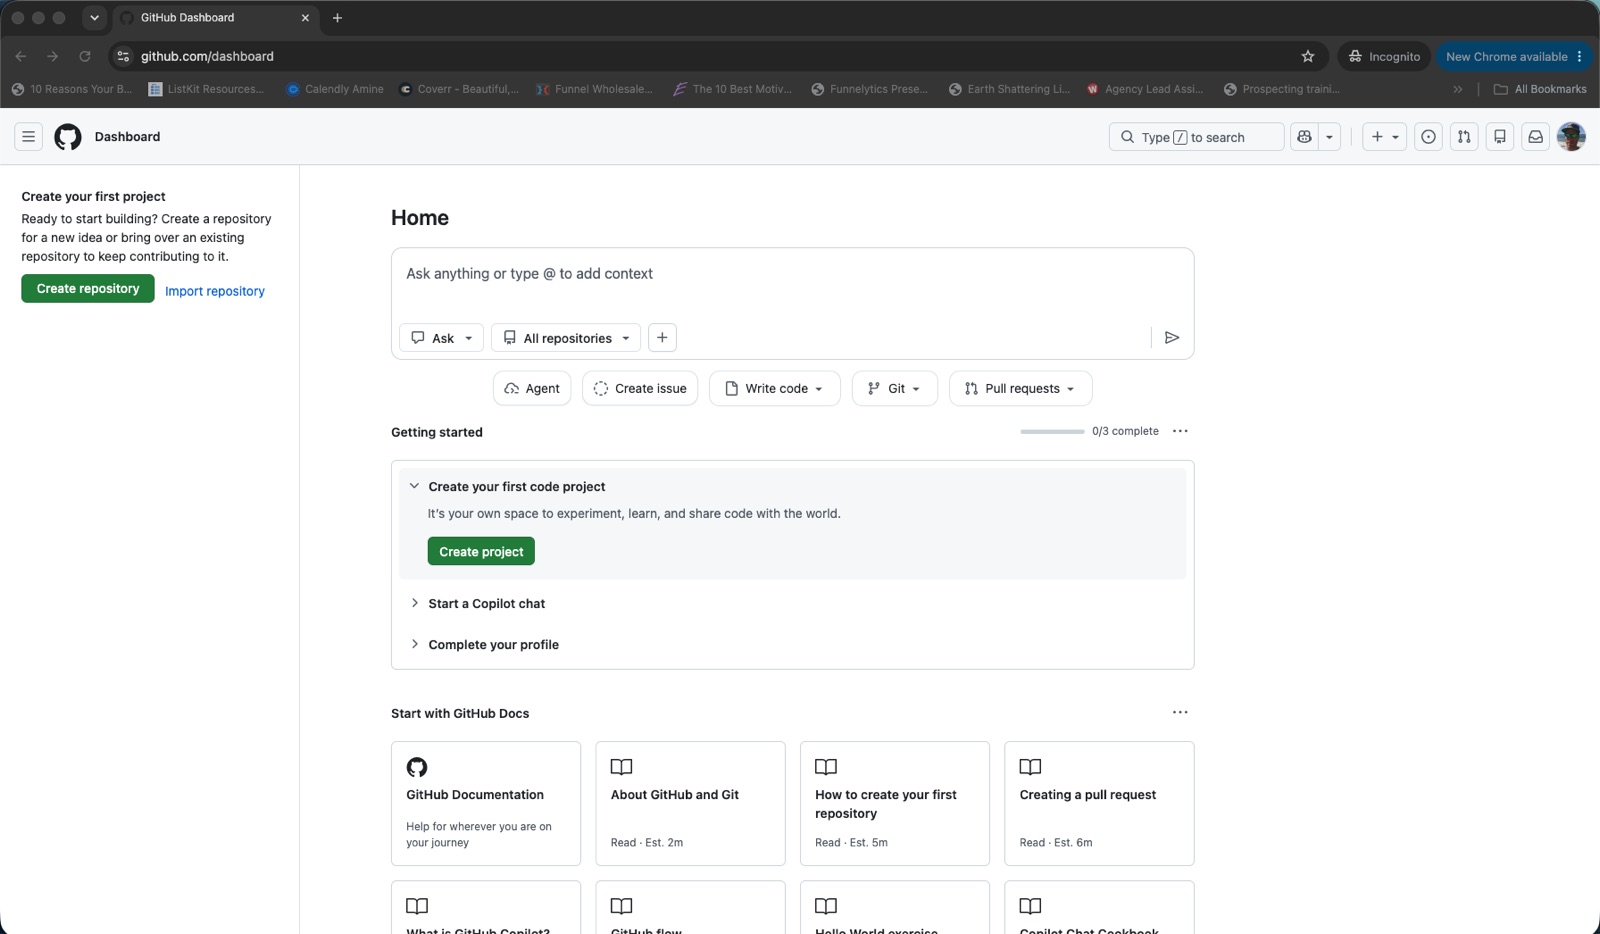
That's it — your account is created and you're signed in. You'll land on your GitHub home page:
Step 2 — Turn on two-factor authentication (required)
Two-factor authentication (2FA) adds a second layer of security — a one-time code sent to your phone, on top of your password. GitHub requires it, and it only takes a minute.
- First, click your profile photo (the icon in the top-right corner), then click Settings.
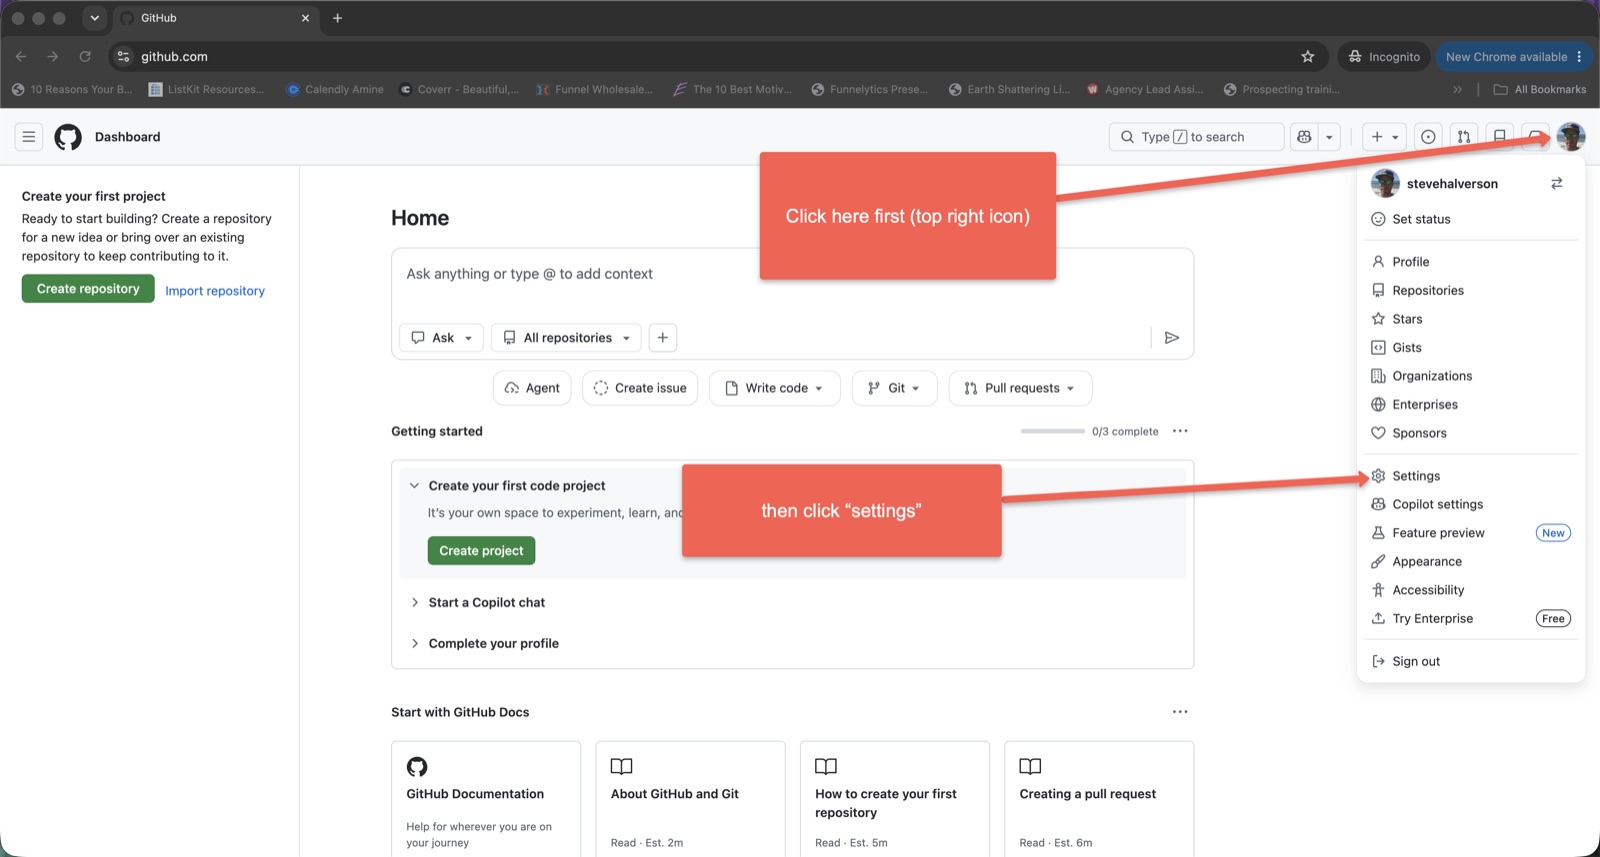
Click your profile photo (top-right), then Settings. - In the left-hand menu, click Password and authentication.
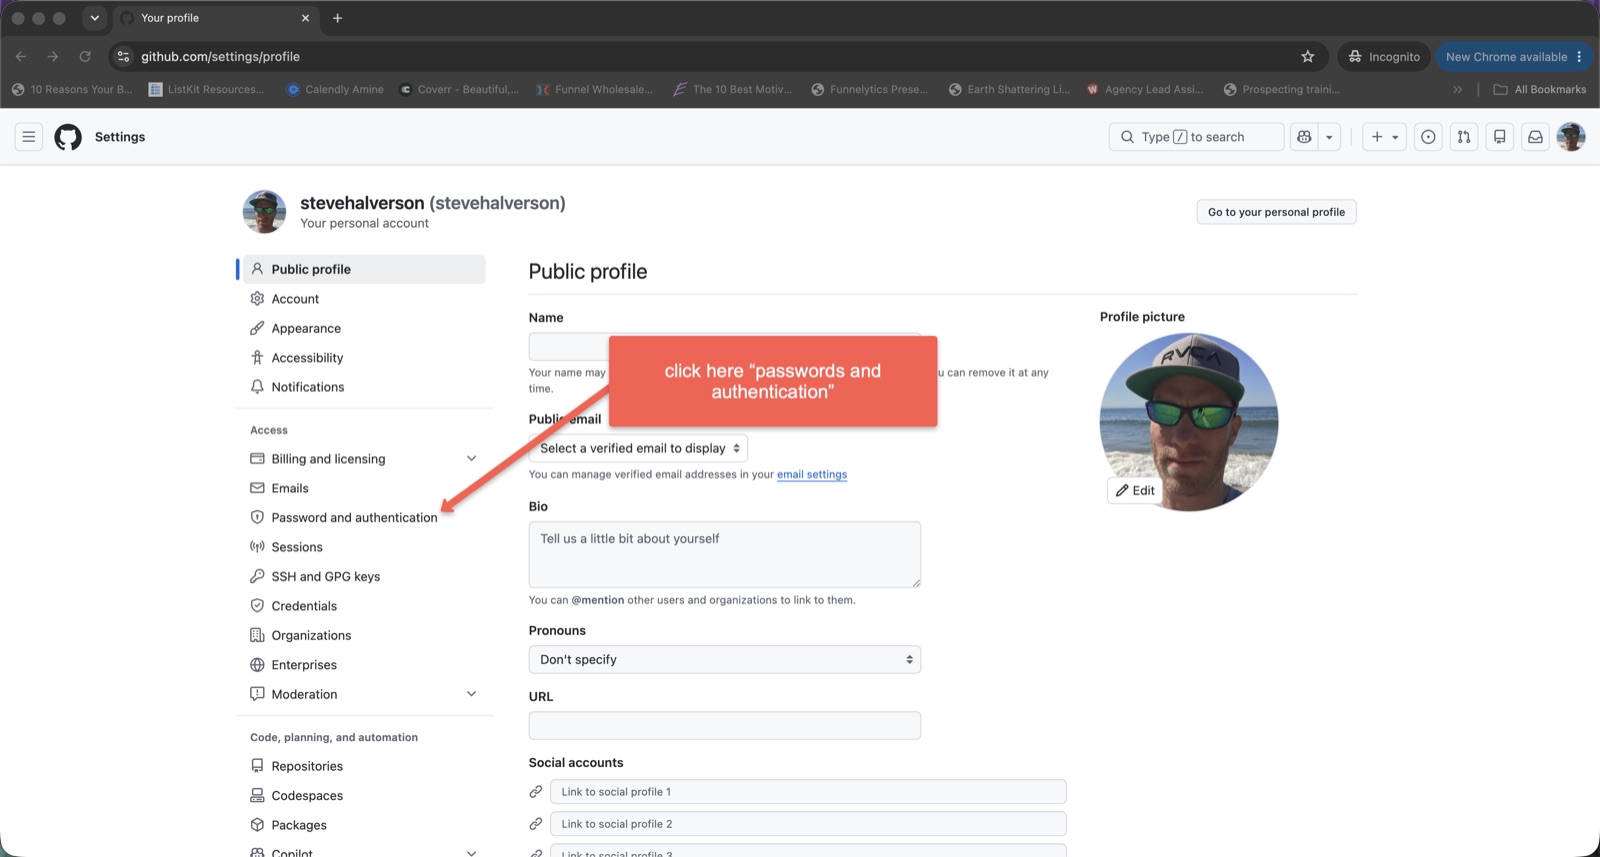
Open Password and authentication from the left menu. - Scroll down to Two-factor authentication and click the green Enable two-factor authentication button.
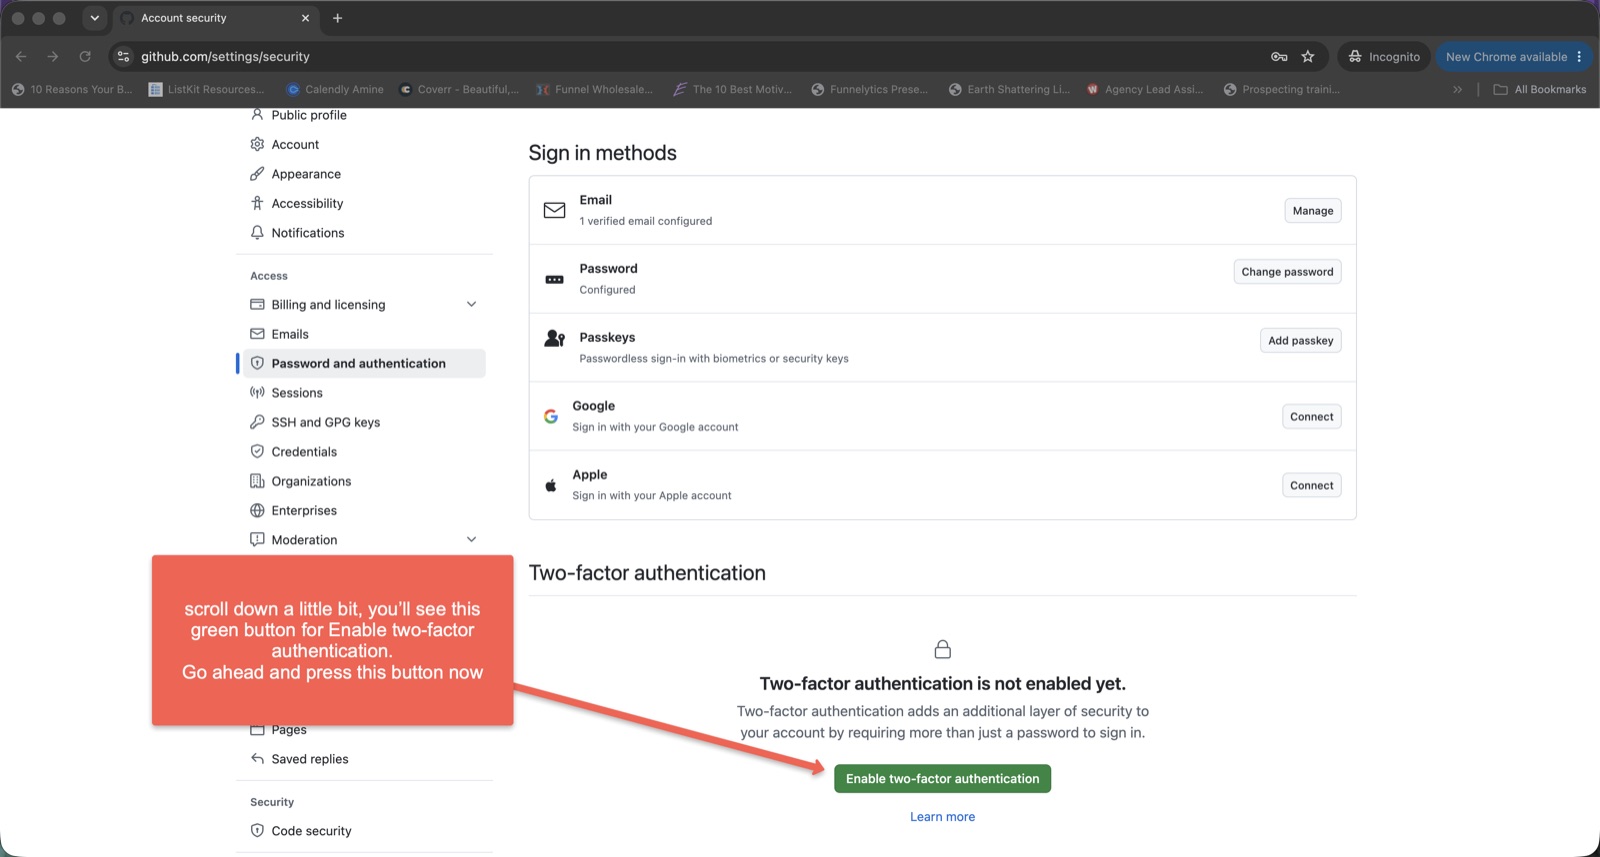
Click Enable two-factor authentication. - Under Alternative 2FA option, click Select next to SMS authentication (solve the quick "verify you're human" check if it appears).
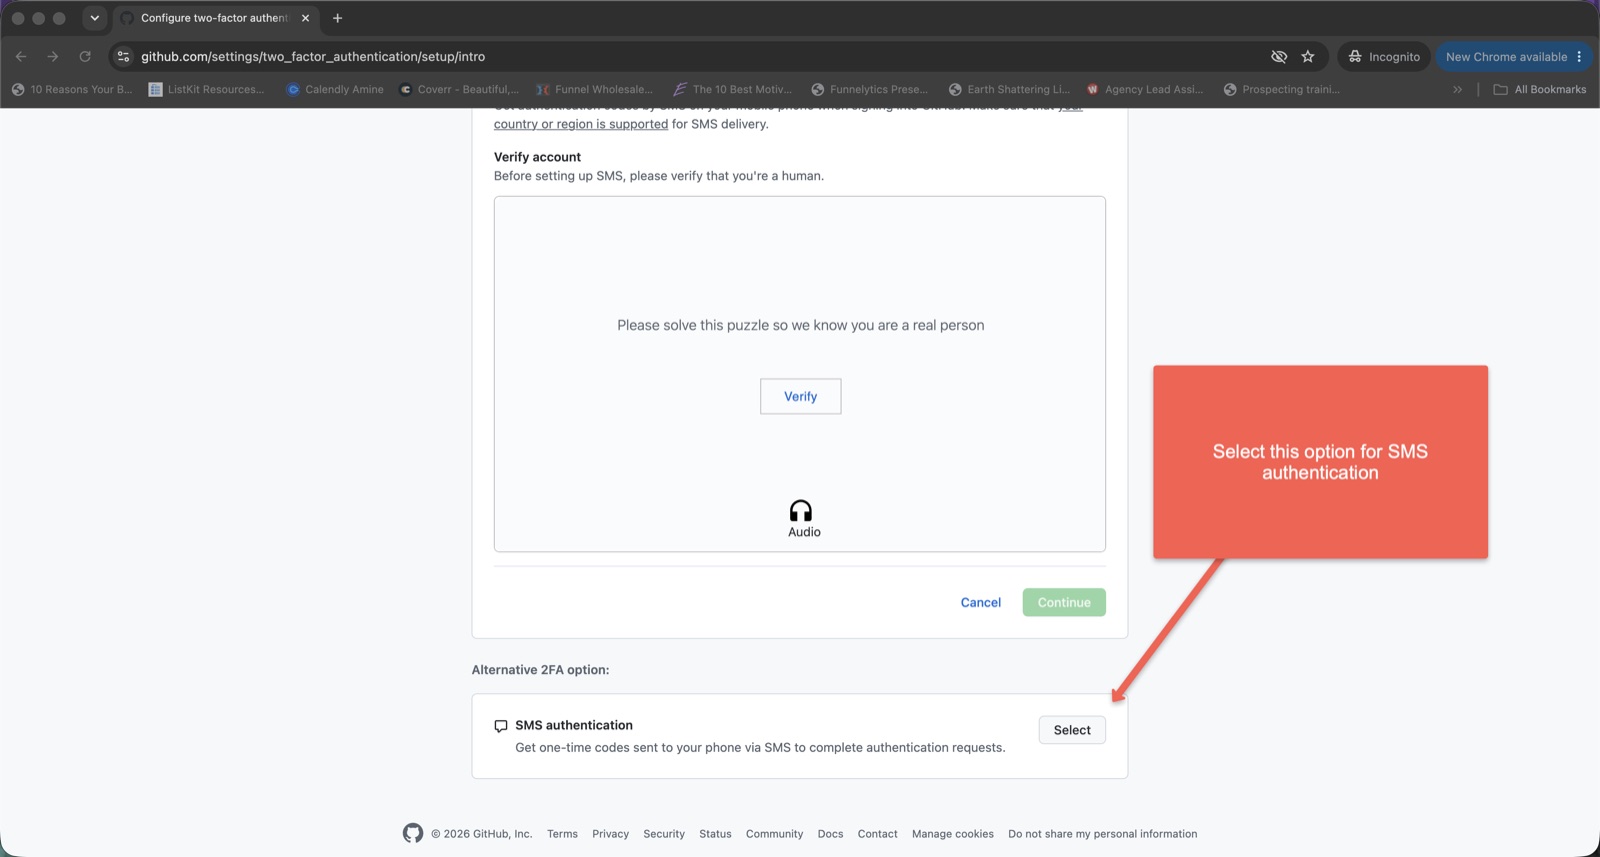
Choose SMS authentication to get your codes by text. - Enter your phone number and click Continue.
- GitHub texts you a code — type it in to verify your number.
- Save your recovery codes somewhere safe (a note or password manager) — they let you back in if you ever lose your phone.
Step 3 — Accept your invitation (don't skip)
We'll send an invitation to the email you signed up with.
- Open the email from GitHub ("…invited you to collaborate").
- Click View invitation, then Accept invitation.
Step 4 — Sign in to your editor
- Go to [your-site.com]/editor (we'll send you the exact link).
- Click Sign in with GitHub.
- The first time only, GitHub asks you to Authorize — click the green Authorize button.
Need a hand?
"I can sign in but can't save a post."
You likely missed Step 3 (accepting the invitation). Check your email.
"I forgot my password."
Use Forgot password? on GitHub's sign-in screen.